
| Pictorial Walkthrough For Taking Snapshots on the US GC PSO |
| This is a guide for taking screen shots with the US
version of PSO ep I & II. You can find an extensive guide for uploading screenshots here.
First, you have to create the file on a memory card in slot B of your gamecube (yes, this means you need a separte memory card for snapshots). |
| Step 1 |
|
Main Menu > -Options -> Snapshot  |
| Step 2 |
|
Create the snapshot file.
|
| Step 3 |
|
The default picture is now created. You are now ready to take some screen shots.  |
| Step 4 |
|
Start a game. Put controller in port 4. Hit the "L" trigger for snapshot window to come up.  |
| Step 5 |
|
The "R" trigger zooms in. The controll stick moves the camera. The "C" stick moves picture frame.  |
| Step 6 |
|
With the "L" trigger depressed, push "A." Push "A" again before the counter hits 100%. If you don't hit "A" the second time, the picture will not be saved.  |
| Step 7 |
|
If you see this screen, then your picture is being saved to your memory card. Your picture is now saved on memory card in slot B. If you try to take
another picture, it will overwrite current picture on the memory card. 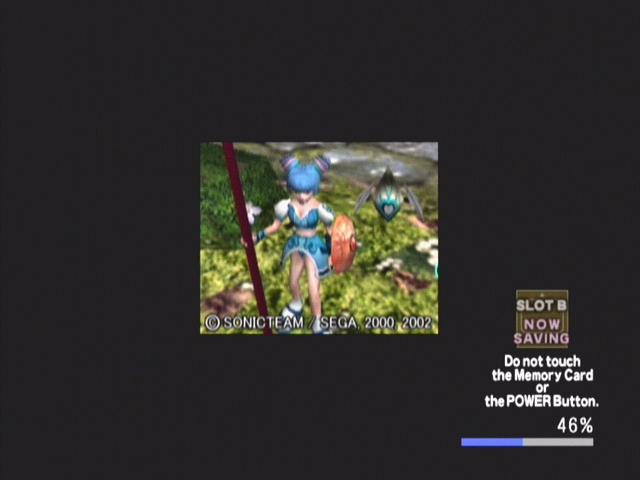 |
| Capture Card Tip |
|
If you hold down the L trigger when you plug in your controller, you zoom in without the "picture window" Observe the regular view:
Zoomed in with screen shot image
Zoomed in using method described above
|
| Guide by rbf2000 |
 Printer Friendly Version


Connect With Us