Page 1 of 2 12 LastLast
Results 1 to 10 of 18
  1. #1

    Default

    Seabed Blaze is fairly easy to S, even without a solid plan but here is one just in case you need a little guidance.

    Seabed Blaze

    To begin, choose two individuals who will separate from the rest of the party. Once decided, you can begin.


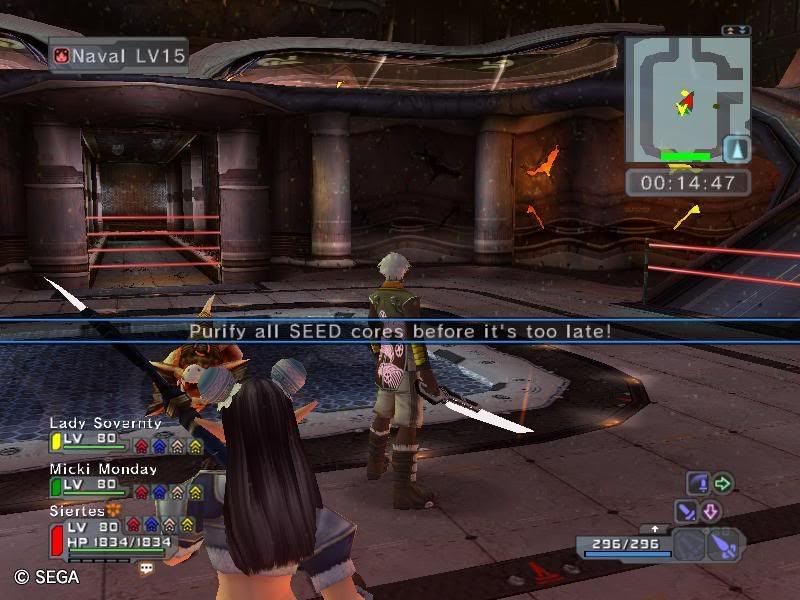
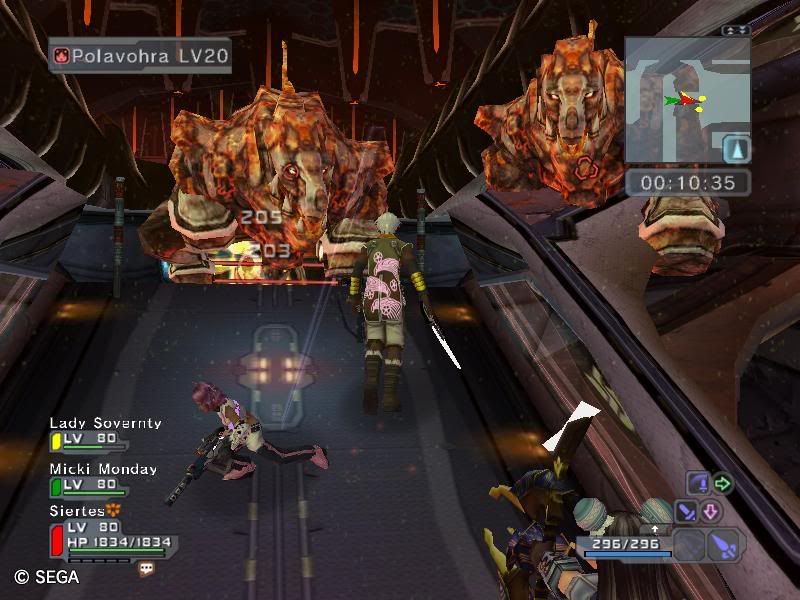
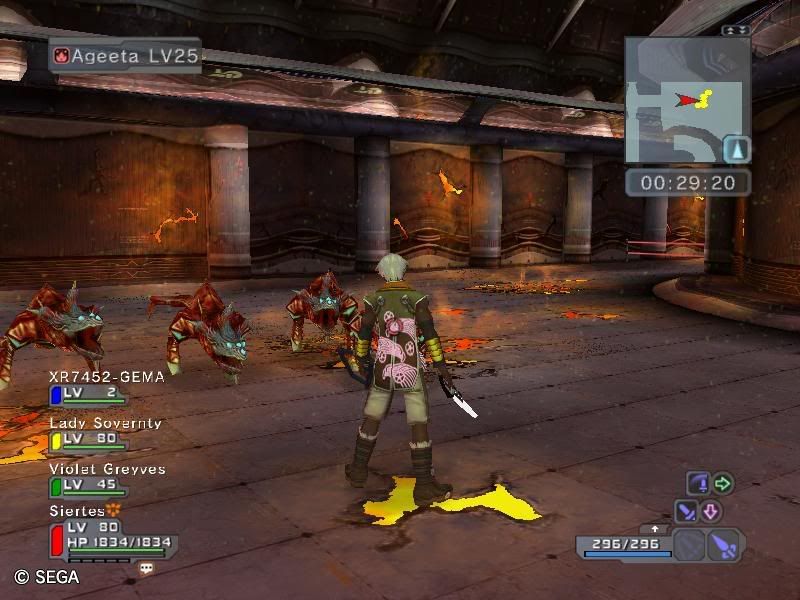
    Kill all the Navals in this room then head up the ramp and to the left.


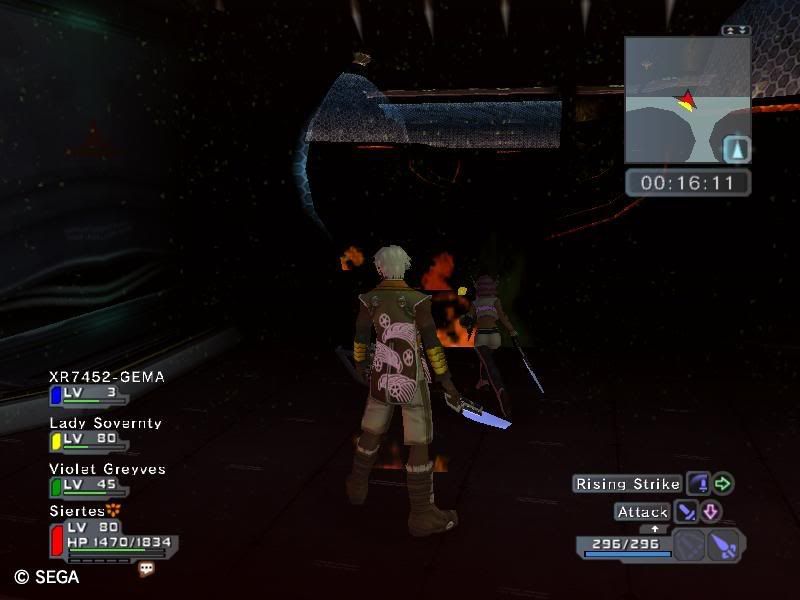
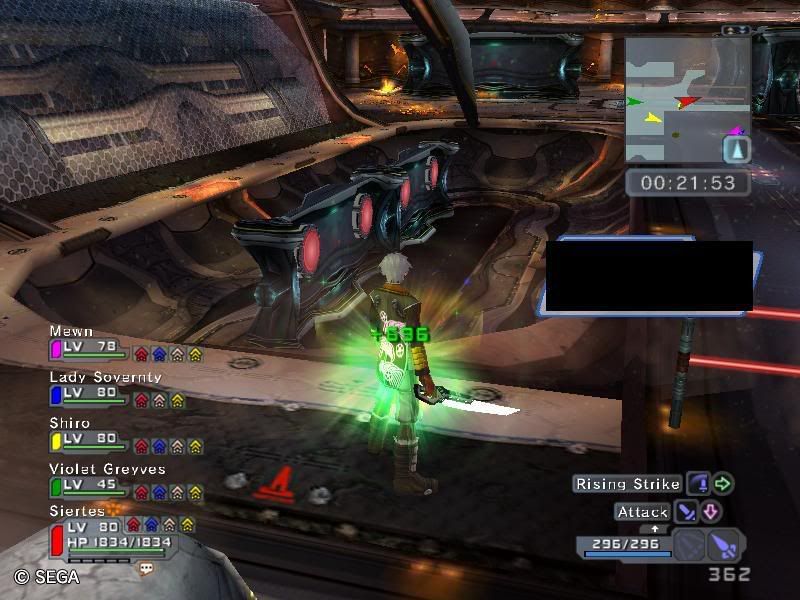
    Once at the top, have one of the two individuals selected earlier continue straight ahead and to this button. Everyone else will head right and down the ramp.


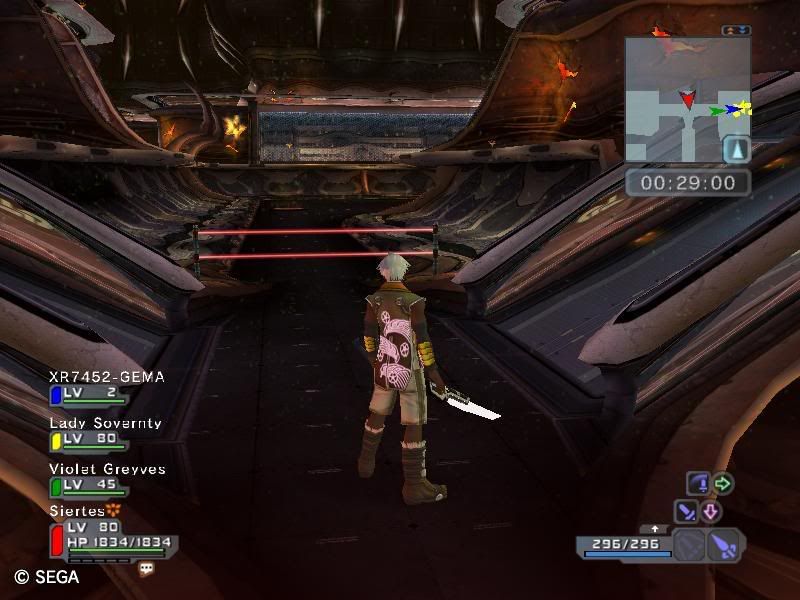
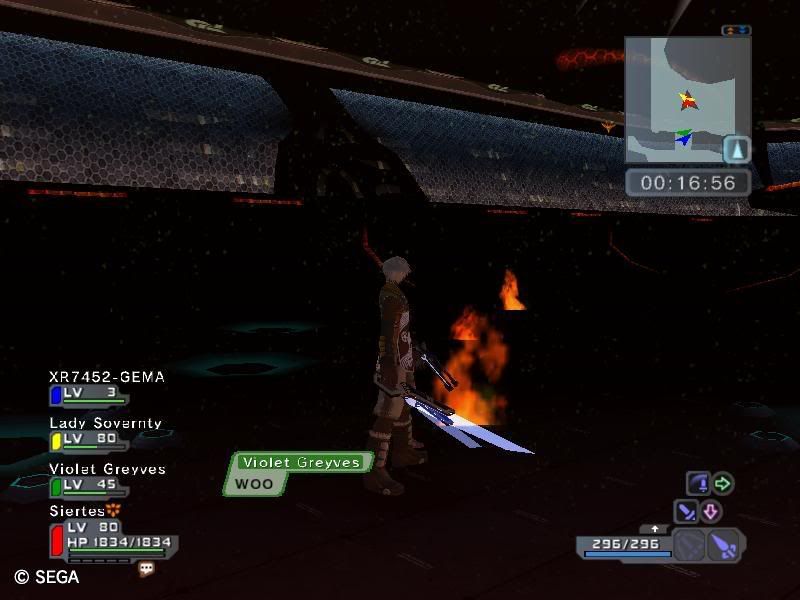
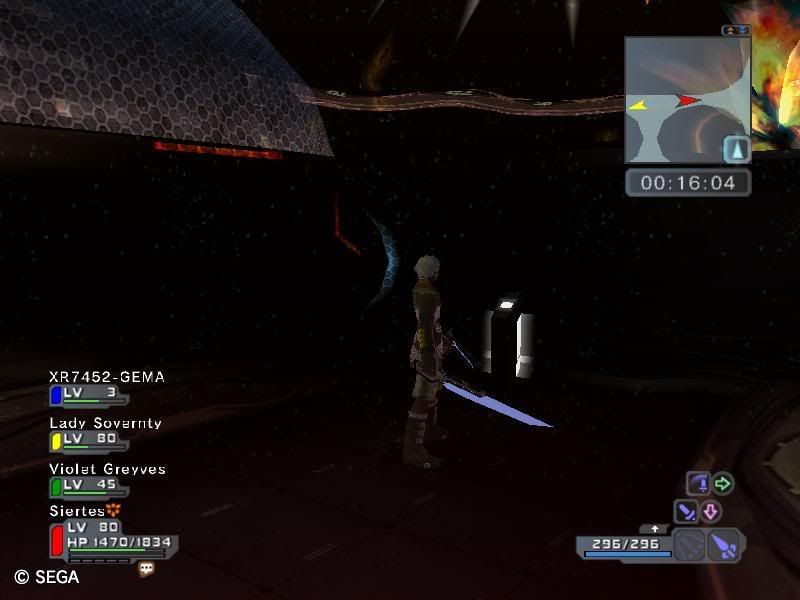
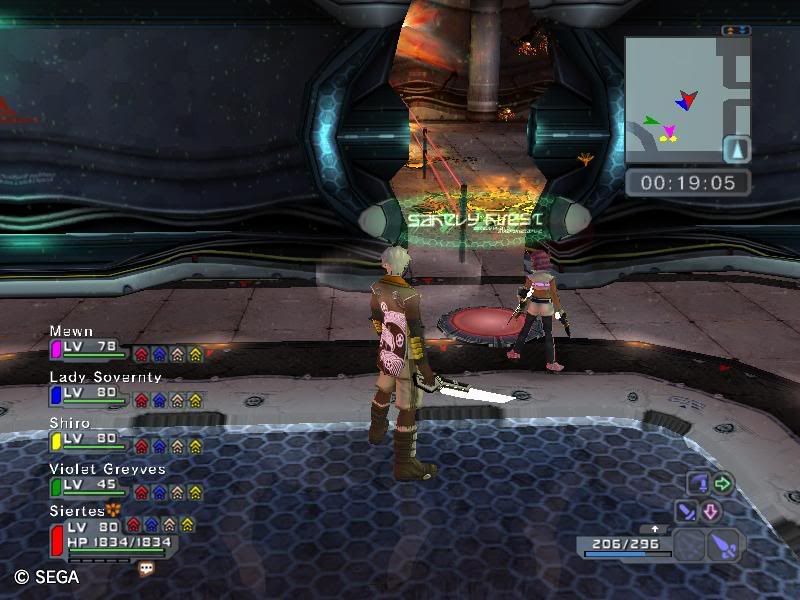
    At the bottom of the ramp, have the second selected individual pass through the barrier, which will be gone once the previous button is pressed. Everyone else will enter the warp. Once the 2nd individual has passed the barrier, the button presser will also enter the same warp.


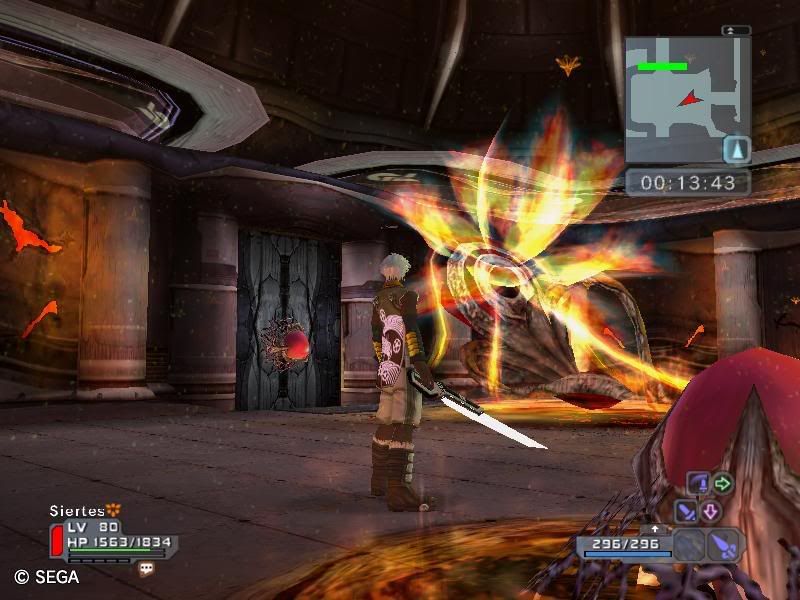
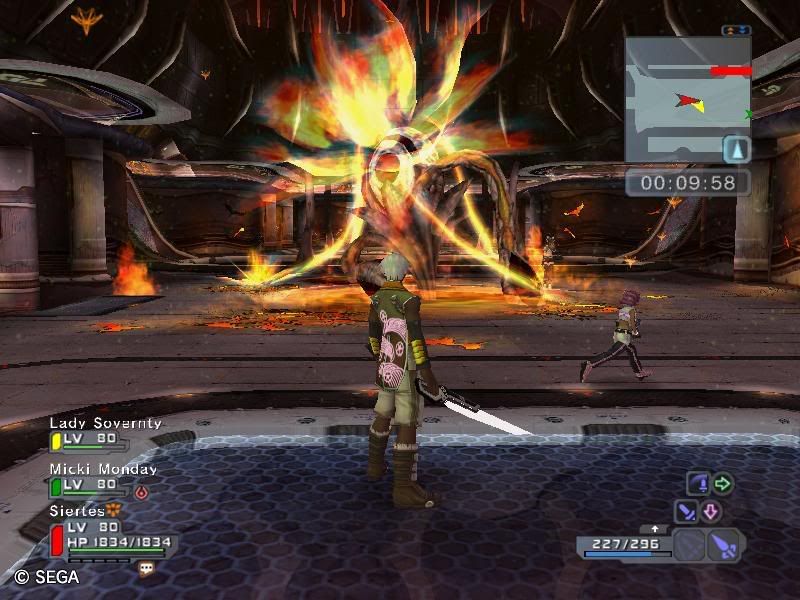
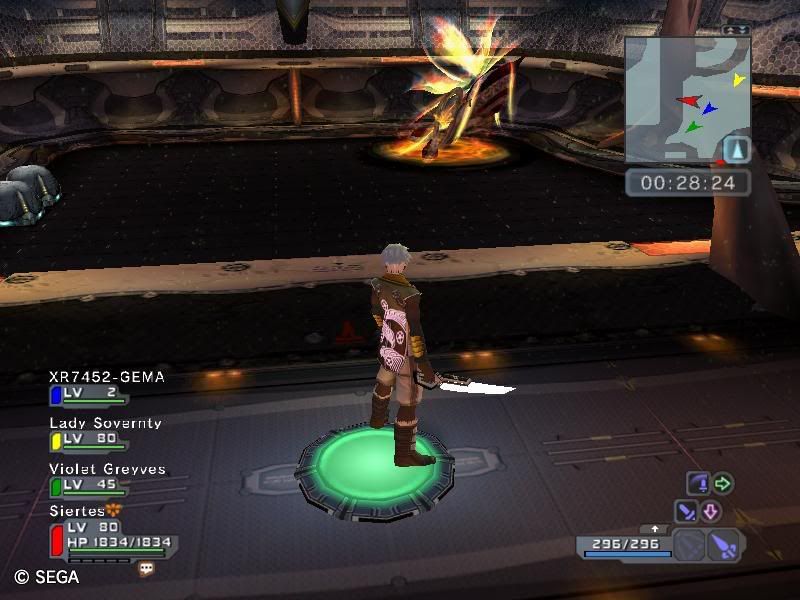
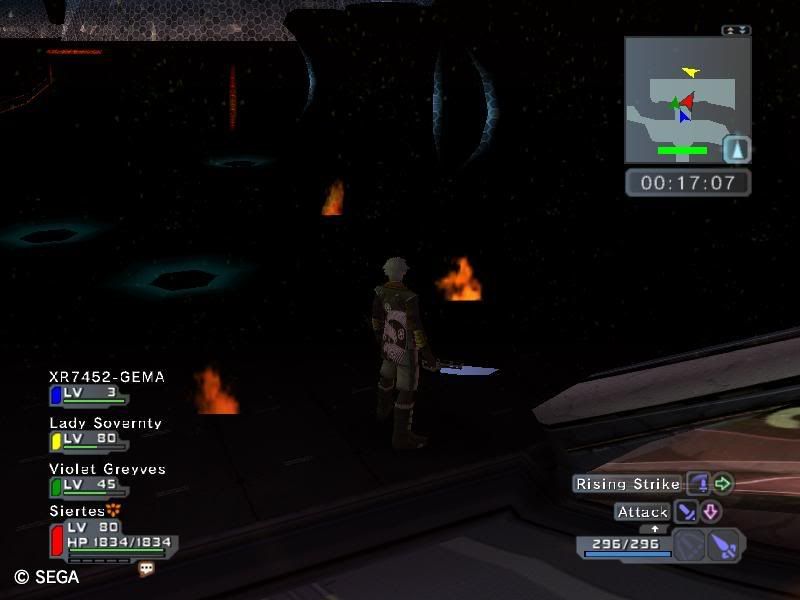
    The lone individual who passed the barrier will purify this area by his or herself, and enter the warp that appears, leading them back to their comrades.


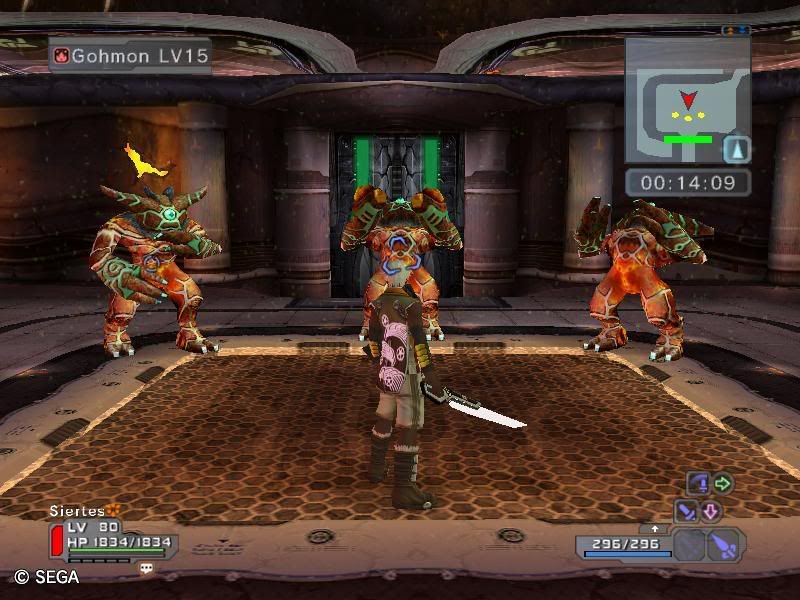
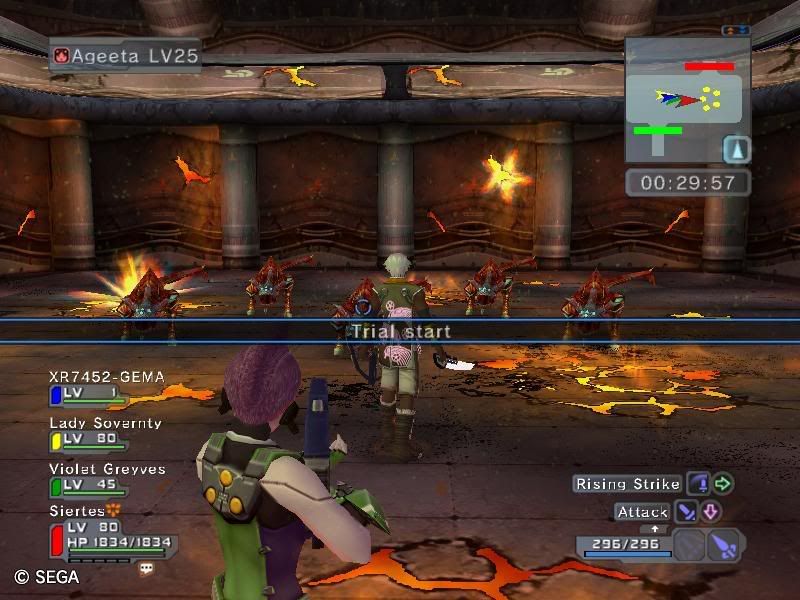
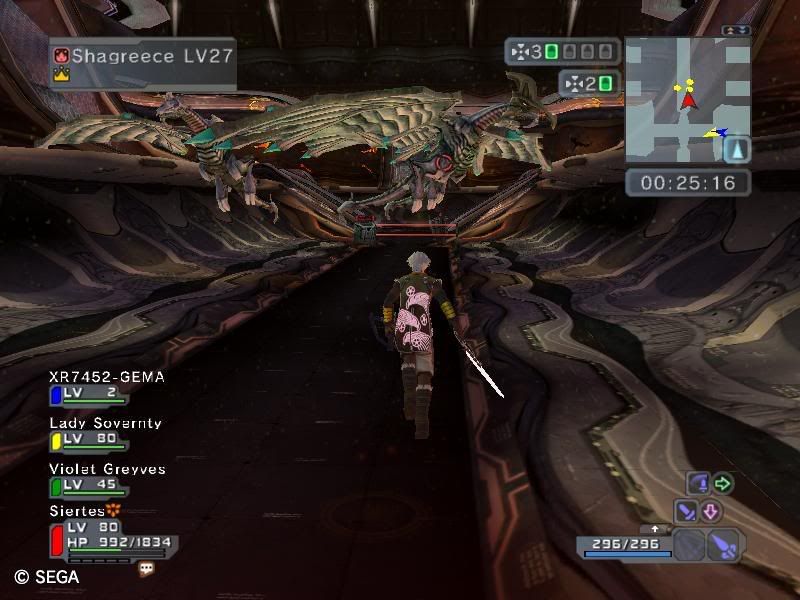
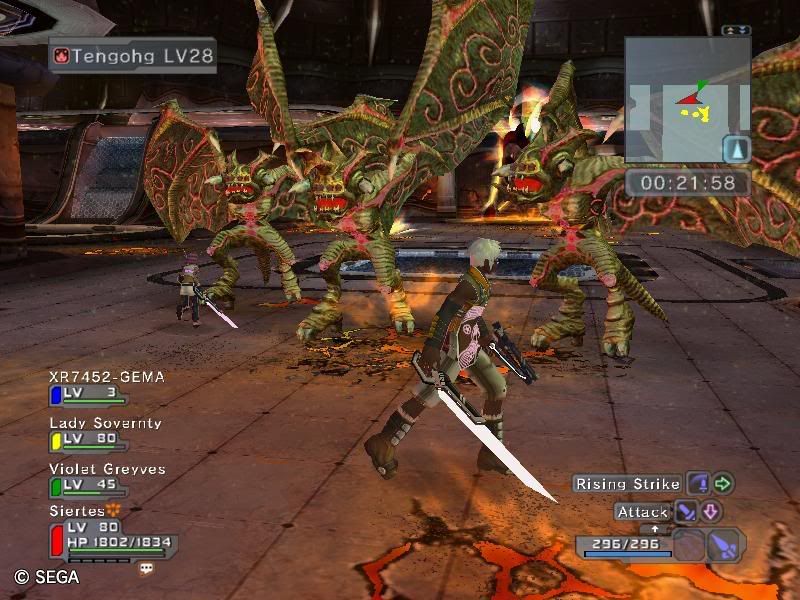
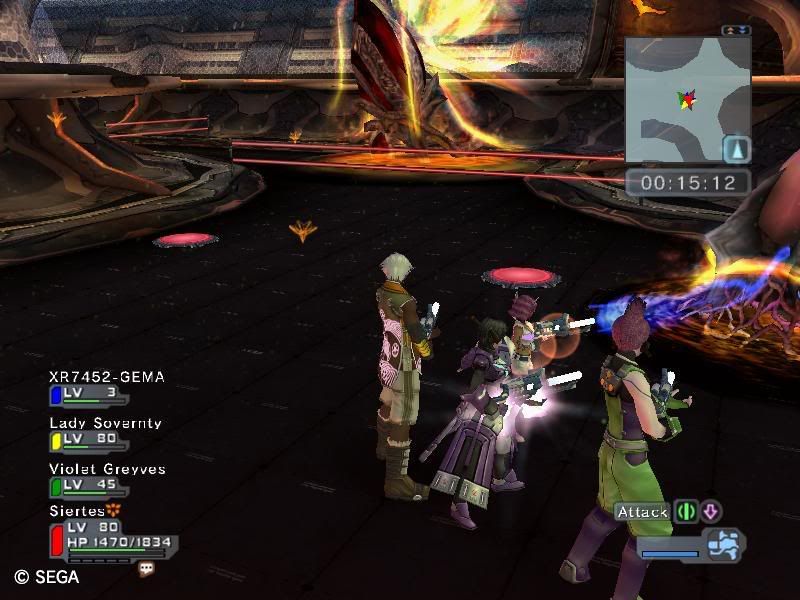
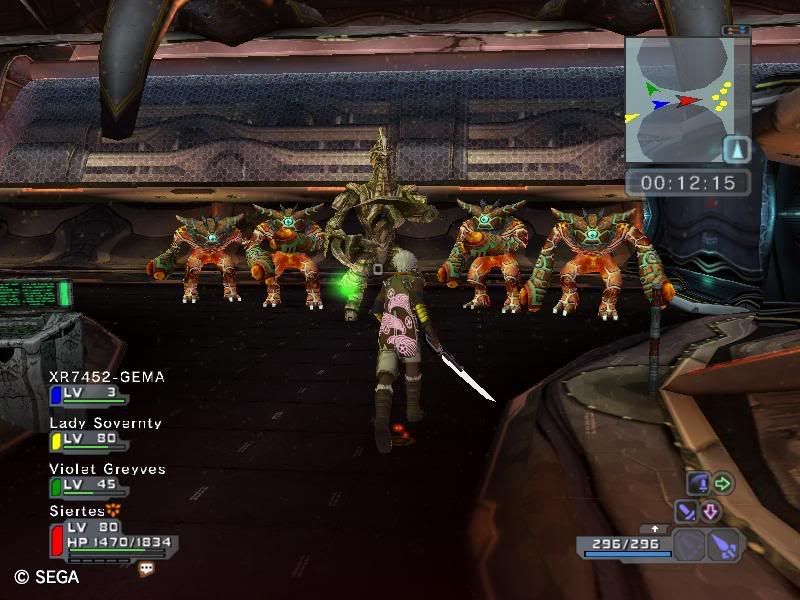
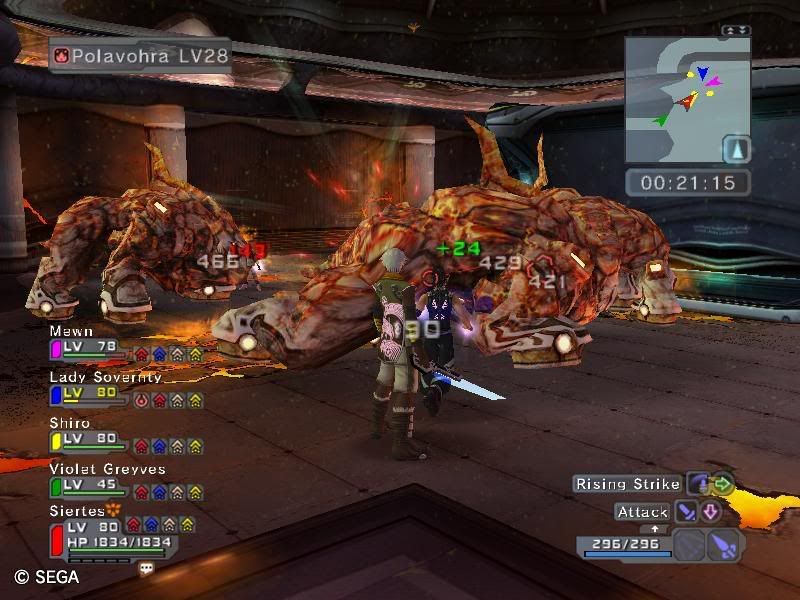
    Those who entered the warp will be greeted by these nasty baddies. Ignore them and pass through the door behind them. They'll commit suicide because you wouldn't play with them


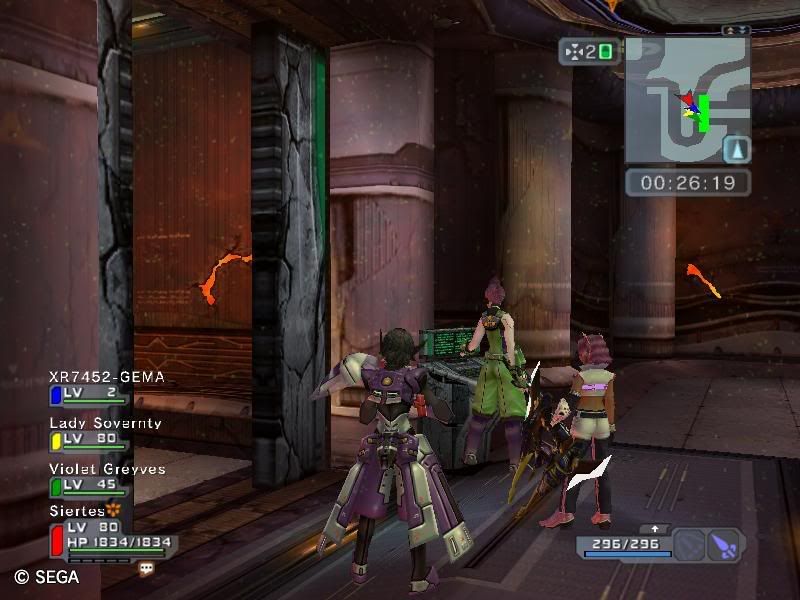
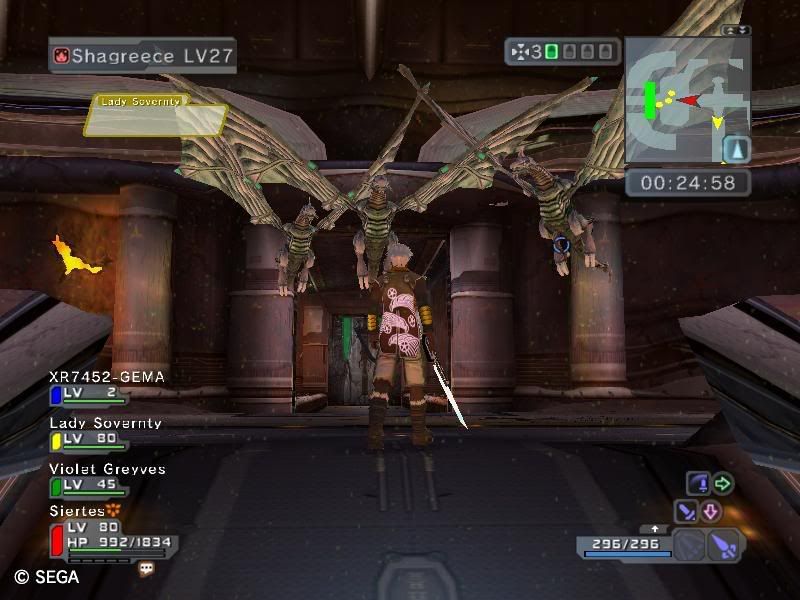
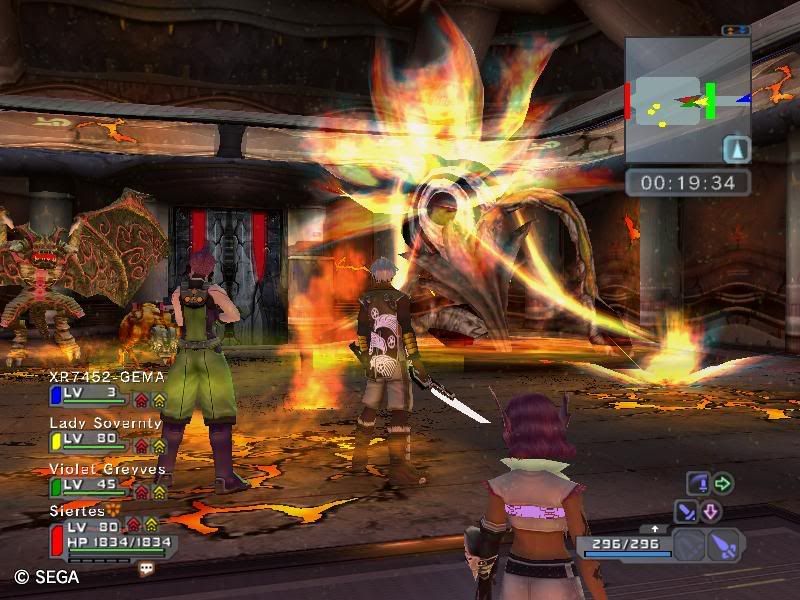
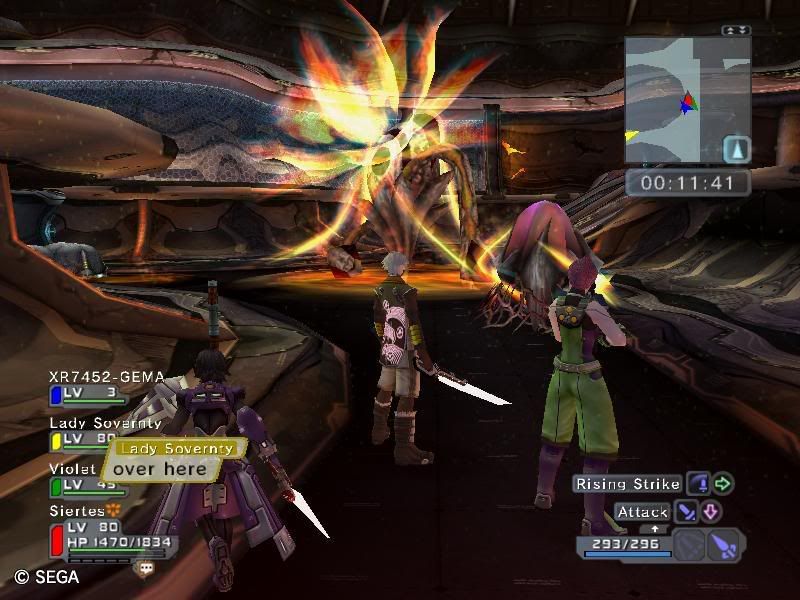
    In the next room, purify the area and open the barrier with the key. This is where you will be reunited with any separated friend.


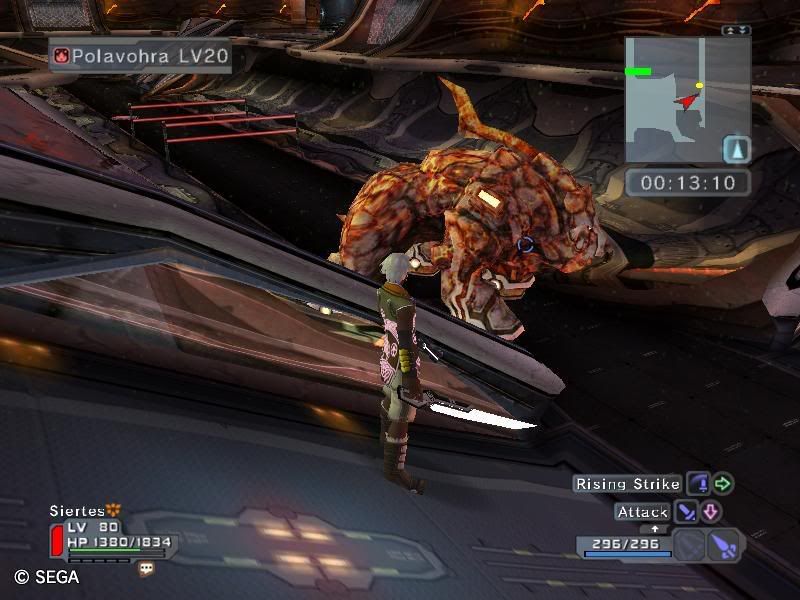
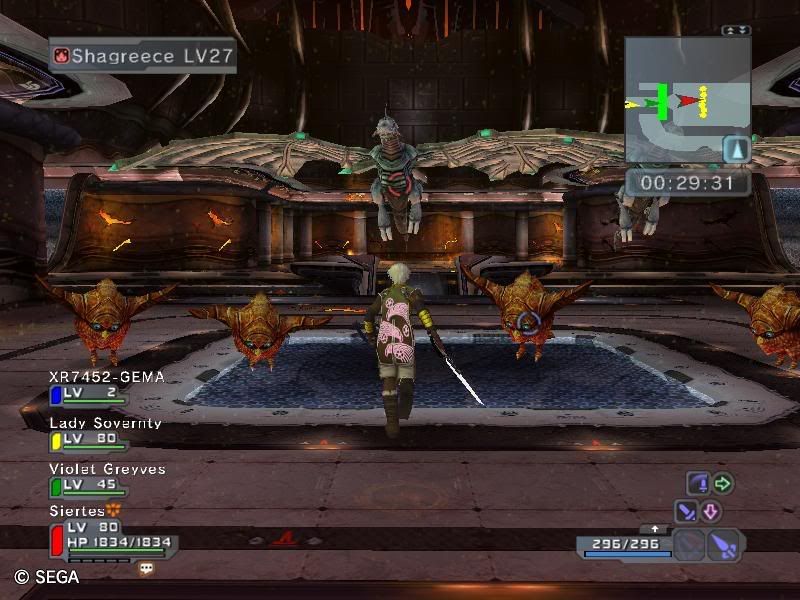
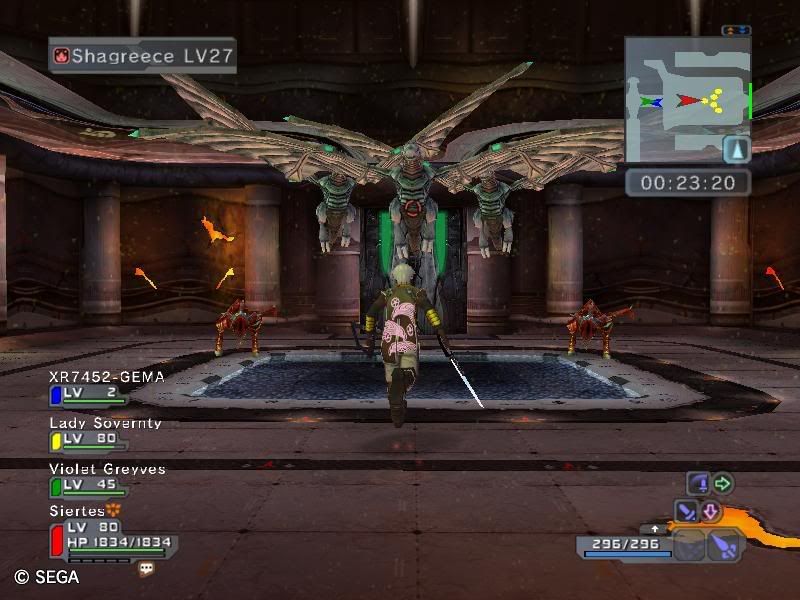
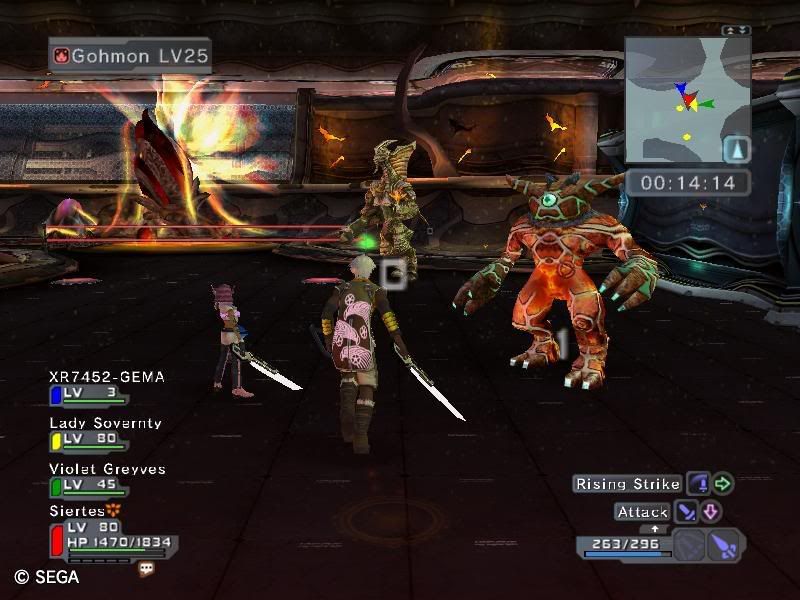
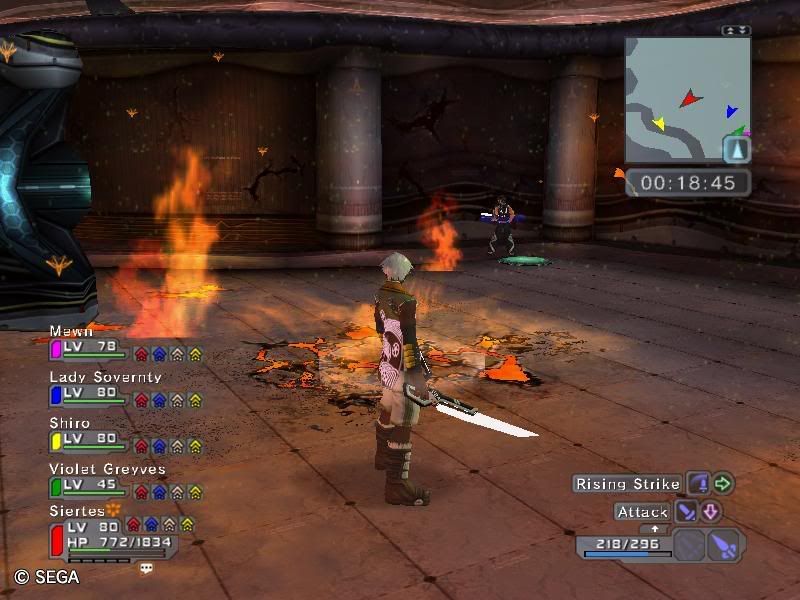
    Defeat all the enemies that show up here and open the first gate.


    Have one person backtrack up the ramp and press the button, opening the second barrier.


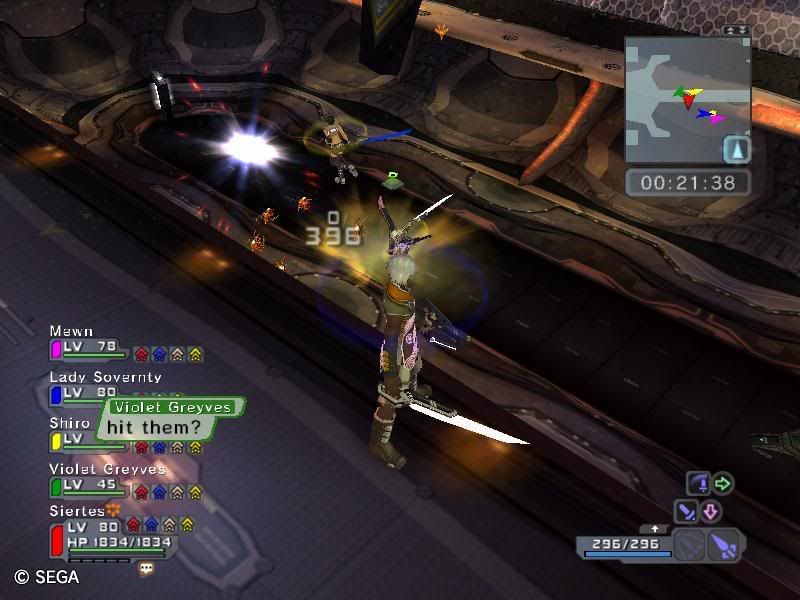
    Kill any enemies that appear in this narrow area and have one person step on this button to allow the previous button pusher to rejoin the group.


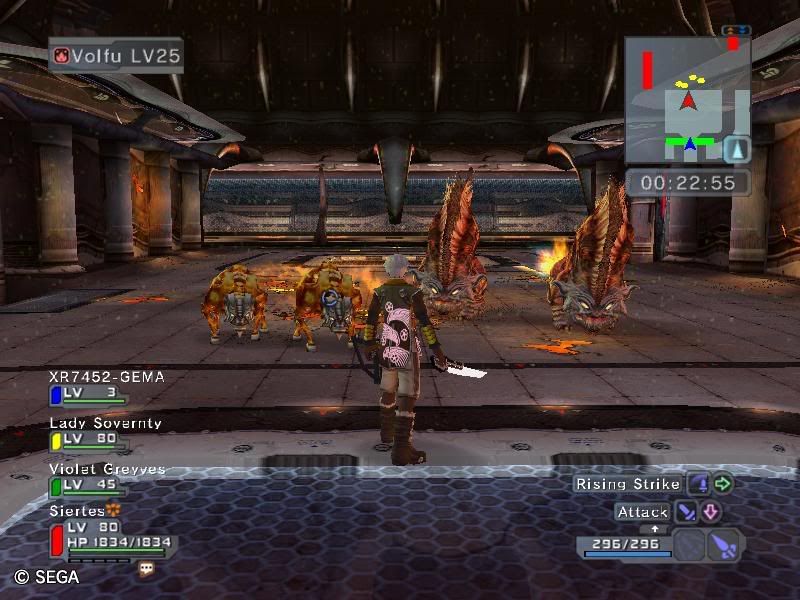
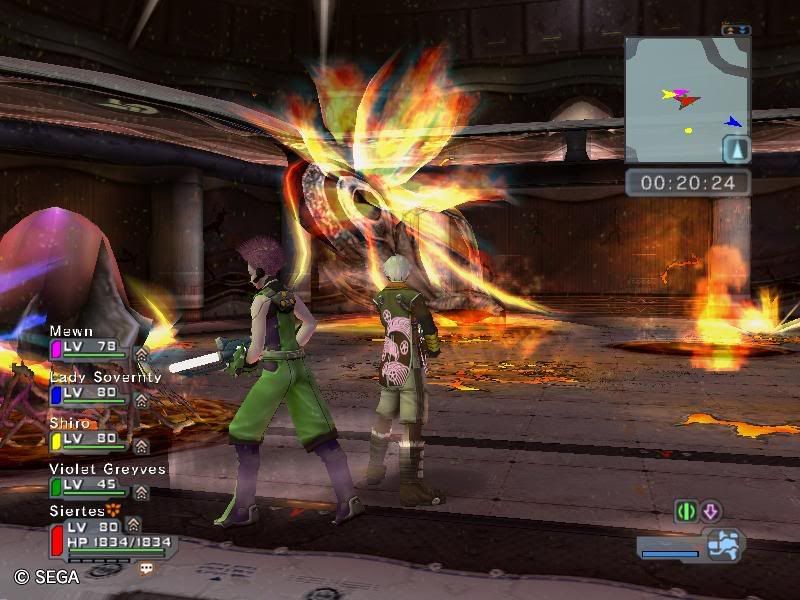
    Defeat these baddies and proceed past the barrier.


    Have everyone purify the final room and the mission will be complete.

    I hope this helps! I'm not too sure on the time requirements so feel free to add any info I may be missing. Walkthrough for Urgent Orders in next post!

    Once i can get these dang pictures organized...

    "Say, I must be crazy walking out in these woods alone at night with a horrible mutilation practically around the corner." - Ranger Brad

  2. #2

    Default

    I liek the boots }:€

  3. #3

    Default

    Urgent Orders

    Time Req for A: 15:00 remaining on clock.

    For this mission, you will need two 3-man teams: Purification and Fighting. It would be wise to have at least one gunner on the fighter party due to the large number of Shagreece in this mission. Let's Begin!

    Block 1


    In the first room, everyone will take care Ageetas then move on to the next room.


    The first spawn in the next room will be these guys. Ignore them and continue on straight ahead, down the ramp and up the other side. They'll drop dead.


    Have everyone take care of the Ageeta and Lapucha that spawn here. Once finished, have one of the purifiers go through the barrier at the back of the room. Everyone else head back down the ramp.


    For the lone purifier, have him get rid of the already visible seed and step on the button underneath. This will unlock an area for another purifier to enter. Once the other person has entered the area, the lone purifier can abandon the button temporarily and purify his surroundings. Once done, collect the key and return to the button to await your comrades completion.


    At the bottom of the ramp, another purifier will wait for the button to be pressed. The barrier will open and he can purify this area on his own. Once he his done, he will collect the key and leave the area, allowing the person on the button to permanently abandon that button.


    After leaving the button, the purifier will go to the nearby gate, open it, and purify the room all by himself. Once done, he will grab the key and backtrack to the ramp area.


    Whilst all the purification is going on the fighters and one remaining purifier will head down the narrow passage between the ramps, to the gate. Once purification is done in the previous areas, Shagreece will appear in this narrow area. If it isn't yet complete, it'll be a clear path to the gate.


    Past the gate and up the left ramp, enemies will appear. Defeat them for a key. Depending on the speed of your purifiers, you may want to send two fighters and the one remaining purifier up ahead to purify the room. This depends entirely on the party and is up to you. A key will be obtained upon purification. Defeat the Shagreece in the narrow passage for the final key if you already haven't.


    Use the key and head through the gate. You will be greet by these fine gentlemen. Ignore them and move on to the next block.

    Block 2


    For the first spawn there will be two Jishigara and two Volfu. Have everyone kill and enemies that show up and take the warp at the back of the room.


    Have the three purifiers take care of the 3 big seeds around the room, while the fighters take out the Tengohgs. Purifiers will help once they're done. Take the warp after the room is clear. The next room is where things split up.

    The spawn will either be:


    Three Volfu. Kill any enemies and head to the next room.


    Ignore the enemies and have everyone purify. Head directly to the next block which I will call Block 3A.

    The other possible spawn is some Jishigara. Kill the enemies and head to the next room. As with the other spawn, ignore the enemies in the next room, and just purify and move on to the next block, which I'll call 3B.

    Block 3A


    You'll be greeted by a dark room littered with traps. Use your goggles and search out the green orbs. Once located, flames will appear on the ground. Follow them for a safe passage through the traps.


    After the final flame, go around the corner and hit the switch to turn on the lights.


    The initial spawn will be three Lapucha. You do not have to kill them, but we wary of pressing the button which makes them disappear.


    Have the purifiers take care of the lone, large seed on this side of the barrier. This is where things get a bit dangerous. There are two buttons that will allow the purifiers to gain access to the next two seeds. The button on the right opens the first gate, but upon pressing the button two Jarbas will appear, followed by Olgohmons after their demise. Have a fighter press the Right button to allow the purify group past the first barrier. Once past, the fighter will wait for them to purify the next seed. Once they are done, the fighter will then press the Left button. This is unlock the 2nd barrier and access the the third seed. Unfortunately, the purifiers will have to contend with two Olgohmons that will spawn to give them trouble. These don't have to be defeated, but they can cause an annoyance. A freeze trap G and a quick group can remedy this problem quickly. Once done, destroy the core and have the fighter press the Right button the let them rejoin the group.


    Fight off any remaining enemies in this area and open the gate.


    This awaits the party on the other side. A nice freeze trap G can give the party a quick breather and prevent massive amounts of Face Foie. Defeat these baddies as best you can, and move on.


    Have everyone purify the last seeds and the mission is complete!

    Block 3B

    At the start of 3B, the party will end up separated. I'm not exactly sure how this is decided. I think it may be that the first who go enter 3B end up in the pit. Anyway, you'll either end up:


    Kill the Shagreece to open the gate. Simple as that. But have someone with a gun:


    Go right next to the gate and shoot all the red switches. Whether you have to shoot all or not is unconfirmed, but it doesn't take long to pop them all. This will free your other party members from the pit. If no one has a gun, Handguns can be found in the nearby boxes.


    That down there is the pit. Mizura appear in there, but don't waste your PP on them. Wait for your teammates to hit the switch and take the warp out of there. I can't recall if the switch inside the pit is necessary.


    Both groups end up in an area with some Polavohra. Kill them and head through the gate. All enemies from this point on are ignorable.


    Have everyone run around the area and purify the seeds. Ignore any enemies.


    Have two people step on these buttons to allow access to the last core.


    Purify the last core and the mission is complete!

    I hope this guide proves useful to at least one person out there looking for help. I'd like to thank Shiro, Violet Greyves (Micki Monday), Lady Sovernty, Mewn, and XR7452-GEMA for helping me when everyone else was too busy and for putting up with my picture taking! Please feel free to correct any misinformation or suggest alternate strategies!


    <font size=-1>[ This Message was edited by: Siertes on 2007-06-09 01:03 ]</font>


    <font size=-1>[ This Message was edited by: Siertes on 2007-06-09 14:58 ]</font>

    "Say, I must be crazy walking out in these woods alone at night with a horrible mutilation practically around the corner." - Ranger Brad

  4. #4

    Default

    Nice!
    Since the missions are new, the images should help greatly.
    Blink & you might miss it! ;3

    Oh, keep sig at 600x180 px & 49KB, yah?

  5. #5

    Default

    The 2 possible spawns after the portal in B2 are three volfu, or three Jisha(not with tengohg). The next room for the volfu spawn, has 2 volfu(more spawn) and a tengohg, while the Jisha has 2 jisha(more spawn) and a tengohg. The rooms with the Tengohg both have seed that can be purified ignoring monsters.

    One thing, on block 3A for the second mission, you don't have to kill the Lapucha, ignore them and run and step on the right switch, and they'll die

    as for the pit in 3b... 3 of the buttons cause traps to come out(turrets, flames etc.), the other opens the portal... but I'm not sure if they all need to be shot or not. The switch in the pit spawns the bees.(from my experience)

    THE JACKEL

    <font size=-1>[ This Message was edited by: ljkkjlcm9 on 2007-06-09 00:33 ]</font>


    <font size=-1>[ This Message was edited by: ljkkjlcm9 on 2007-06-09 00:36 ]</font>

  6. #6

    Default

    Thanks Jackel. Didn't realize I had taken a picture of the wrong room with those Jish and Teng.

    I do recall seeing that one of those four switches was marked unlike the others. Didn't make much of it till you mentioned it. Still not sure about the button in the pit. I'm pretty sure the Mizura spawn no matter what.

    Edit: I was just thinking while I was about to go to sleep. Maybe that switch in the pit is what shows your friends which red button to shoot. I remember seeing a red orb on one of the buttons, but can't recall if I was using my goggles or not. Ugh! This is why I didn't want to do this stupid thing in the first place!


    <font size=-1>[ This Message was edited by: Siertes on 2007-06-09 01:52 ]</font>

    "Say, I must be crazy walking out in these woods alone at night with a horrible mutilation practically around the corner." - Ranger Brad

  7. #7
    Humble FT epr18's Avatar
    Join Date
    Dec 2006
    Location
    Under the sky so blue
    Posts
    107

    Default

    good guide Siertes glad I could help

  8. #8

    Default

    It's almost at the end of FB now. And the incomplete info on the buttons on 3B has been bothering me lately. Has anyone finally figured what the button in the pit really does?

    As for the 4 switches, I usually just fire all 4 if I can reach all of them. But on my FiG, I tried using my dualies and handgun and with BOTH I was not able to reach the 3rd or 4th buttons.
    3 of the 4 does seem like traps for the ppl in the pits. And one seems to open the portal to teleport them out. But is this magical button randomized all the time? IF the button I have to hit are the 3rd or 4th, and I can't hit them, then I shouldn't bother hitting the first 2 since they could be traps, no?

    Just kill the flyers and shoot buttons while on the bridge afterwards??

    If the button in the pit DOES give a hint to the shooter on top, I haven't noticed personally since I didn't know I was suppost to look out for any signs.

    Anyone out there figured it out definatively?

    <font size=-1>[ This Message was edited by: chibiLegolas on 2007-06-25 13:44 ]</font>
    PSZ: DECOY! (HUcaseal)
    PSZ: Kelemvorite (RAmar)
    PSZ: Troubadour (FOnewmn)
    Friend Code: 3610 2919 6664

  9. #9

    Default

    Nice guides. Should help some people learn the missions well.

    Oh, and Siertes, why is it that the blue photon colors seem to turn out white in all your pictures? The Jitseen, cubo, p. eraser, etc...
    Gamertag: inf3rn0 Lan
    Lan Katana│Male│Newman│Lv150│fT 20
    Malsa Powers│Female│Newman│Lv150│AT 20
    PSO2β: マルサ・パワーズ|Force lv17

  10. #10

    Default

    All i know is that one of the buttons unleashes the flame trap in the pit, and I believe that is the button that has a red orb on it. If your team mates hit the button in the pit, a red orb should appear on one of the switches. That's the only switch that I know of that you don't have to hit.

    Whether you have to hit all the other three, no idea, but FB is about over and too few people even continue on in this map variation. This whole guide was a waste of time.

    "Say, I must be crazy walking out in these woods alone at night with a horrible mutilation practically around the corner." - Ranger Brad

Similar Threads

  1. urgent orders on A and kitty claws
    By Niloklives in forum PSU General
    Replies: 8
    Last Post: Jun 17, 2007, 06:52 AM
  2. Replies: 77
    Last Post: May 28, 2007, 07:30 PM
  3. PSU: Guide to Nanoblasts and SVUs
    By Zarode in forum PSU: Gameplay, Guides & Walkthroughs
    Replies: 14
    Last Post: Dec 17, 2006, 12:21 AM
  4. The Combat Battle and Survival Guide!! button mash and you a
    By Saner in forum PSU: Gameplay, Guides & Walkthroughs
    Replies: 8
    Last Post: Oct 26, 2006, 08:31 AM
  5. materials guide for ep1 and 2
    By Arthur5221 in forum PSO General
    Replies: 1
    Last Post: Sep 15, 2006, 05:41 PM

Posting Permissions

  • You may not post new threads
  • You may not post replies
  • You may not post attachments
  • You may not edit your posts
  •