Rogue


Rogue
Last edited by Monochrome; Mar 11, 2013 at 09:25 PM.
Ghetto lady thinks your froggy's name is Lou McGopher

Awesome!
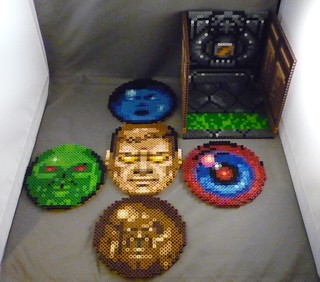
The Cyberdemon, DOOM (PC)
edit: lol, post '666'
Ghetto lady thinks your froggy's name is Lou McGopher
Some Halloween horror related sprites I've been working on.
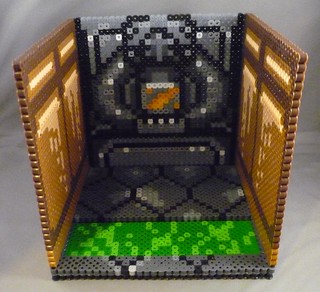
DOOM coaster set
Last edited by Monochrome; Oct 31, 2013 at 05:52 PM.
Ghetto lady thinks your froggy's name is Lou McGopher
Still going strong eh? I'm glad. I have a question though. What is your method of ironing something huge? I'm planning of ironing something that takes 4 pegboards x 4 pegboards totaling 16 pegboards. I'm afraid that if I iron something that huge, the heat won't be distributed evenly and the whole design will be uneven and break off into pieces.
You are correct, a sprite of that size will begin to shrink during the ironing process, and stress fractures will occur, repeatedly splitting the larger masses into warped chunks as the project cools, curls upwards and shrinks. This can be absolute hell. Not-quite-melted beads will fall off and turn sideways, chunks won't lie down flat again, beads near the pegboard seams don't want to meet or fuse together or sit at even heights.Originally Posted by one pogi pinoy

Keep a big stack of heavy books (or something heavy and flat) nearby. Work on ironing a small section to completion before moving on, do not try to heat the whole thing up at once, it could spell the end for your sprite! After a smaller section (like one pegboard size, or maybe 2) is fused to your liking, put a book on it and start the adjacent area, placing and leaving books on as you go.
It is really important to make sure that the outside edges of your project are fully fused together. If there are some loose beads near a seam on the interior, they will not move around too much if the exterior edges are secure. Otherwise, there is no way in hell they will ever line up square again if the outside edges pop apart once it is separated from the pegboard. That's the next step. You may have some lesser stress fractures that occur underneath the heavy books, so you will likely have to iron sections back together a bit before you are ready to flip. Obviously remove the books before you are going to flip the sprite.
I work on large fiber boards, so that when it comes time to flip the project over, I can simply sandwich it between the board it's already sitting on and another. This way if part of the project is weak, it won't tear apart as it would if you try to peel it straight up off the pegboards. With a board on top and bottom, give it a flip and then wiggle the pegboards up and off one at a time. Iron the other side if that's your thing. I always do because the individual pegboards ALSO warp and so I might have some beads near pegboard seams that are barely holding together or even loose on the inside of the sprite, and no amount of spot ironing is having an effect (except destroying adjacent beads by overheating them).
Not everyone likes to iron both sides, some like to go for a 'clean view' and will bead the image in reverse so they can have that unmelted bead view. Personally, I just like my stuff not to fall apart. Obviously you gotta hit the one side extra heavy with a really hot iron if you are only intending to iron one side. I don't do this -- I have had problems with certain colors of beads having 'blow outs' on the side I want to display. That is, the bead becomes liquid top to bottom, then gets all hideous and shrunken looking.
There is another method, which A LOT of people swear by, but I've never tried it. That is the tape method. You might want to check out the tutorial, and decide if this might be for you.
http://www.reddit.com/r/beadsprites/..._masking_tape/
I'd still sandwich the project between two boards to flip it off the pegboards for ironing purposes, though.
I apologize if this is too wordy, poorly worded, or incomplete. Too much caffeine today.
Last edited by Monochrome; Nov 3, 2013 at 07:41 PM.
Ghetto lady thinks your froggy's name is Lou McGopher
Thank you very much for the explanation. No need to apologize. Your description is very thorough which I like. I do like the clean view look but I'm not a fan of the tape method. I'll iron 2 pegboards at a time first and see how that goes. I hope to be done by Christmas time. I'm not really focusing most of my time on it right now. When I finish, I'll be sure to post pictures of it. It's going to be a sprite of Jean Grey "floating" in air.
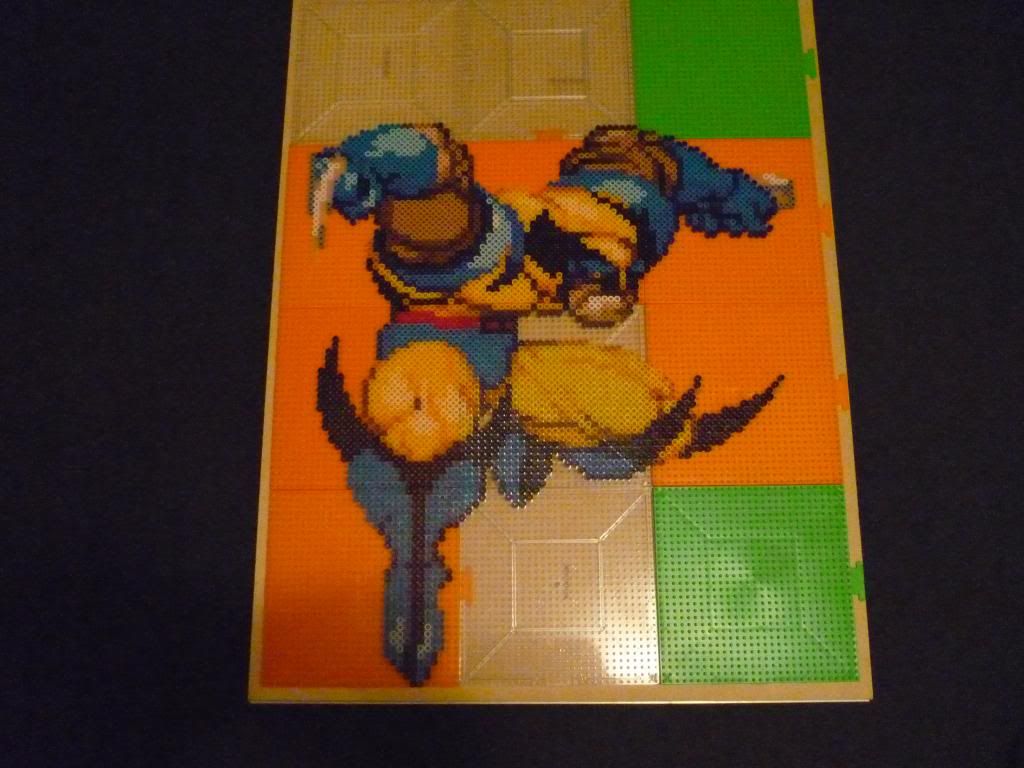
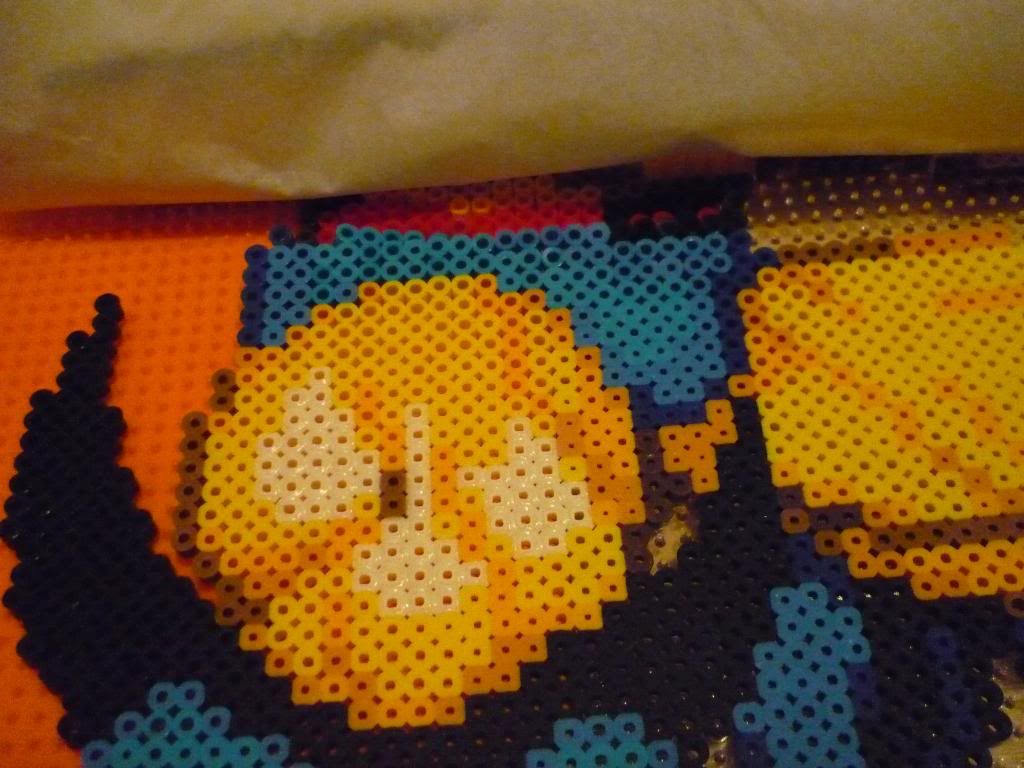
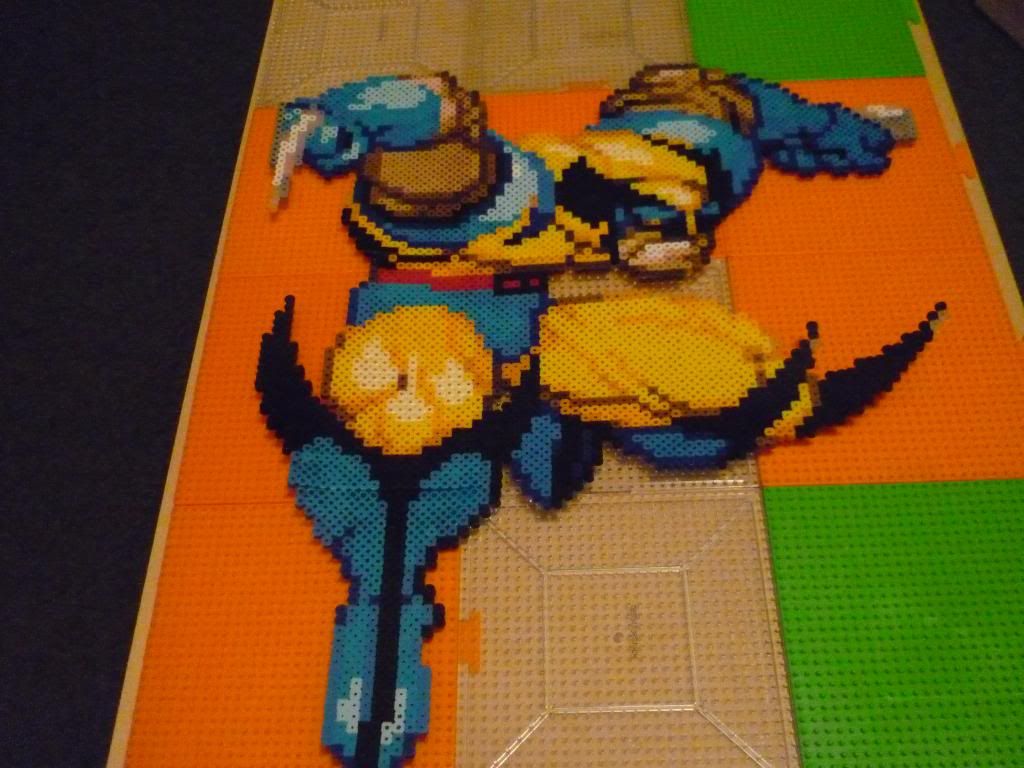
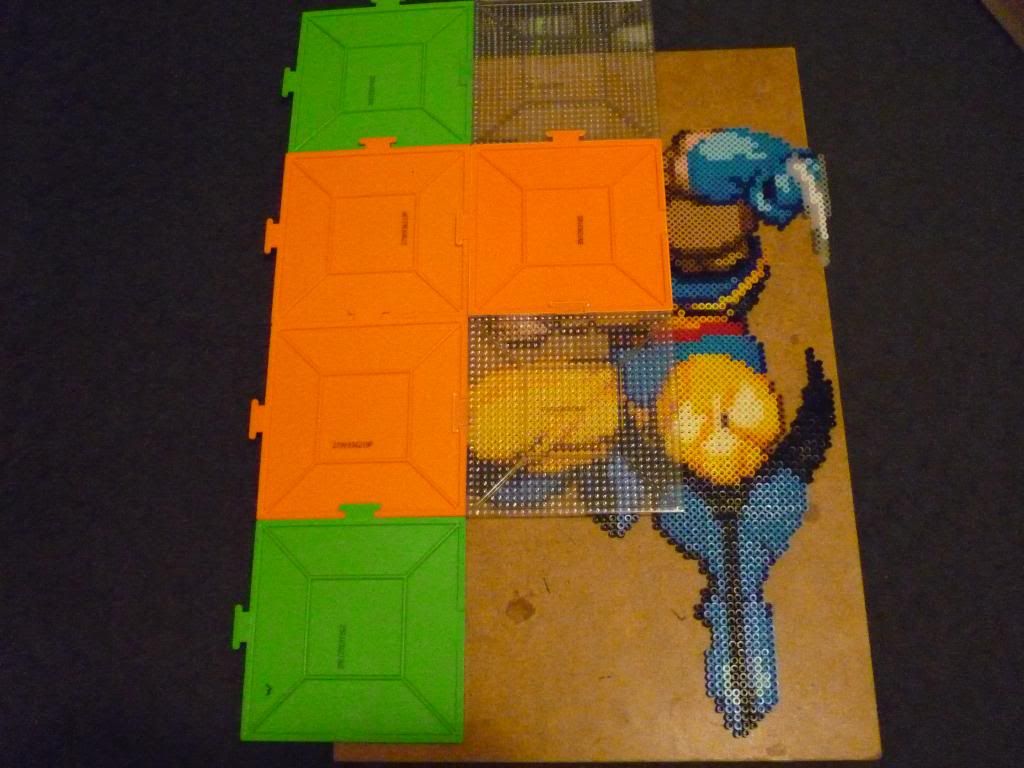
I wanted to expand upon my tutorial, since ironing a large sprite can be a catastrophic ordeal, I want anyone who attempts it to have the best chance of success. I copied my Wolverine for a friend, and took a few pics along the way. Here we go:
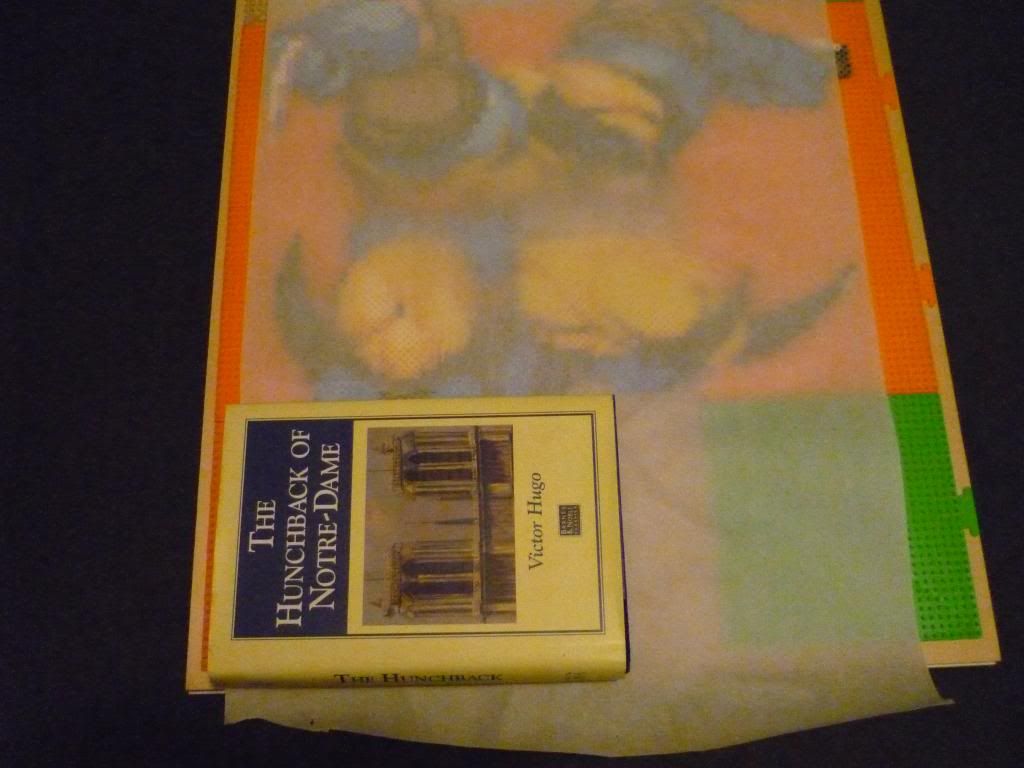
1. Here it is, starting out on the pegboards. Notice that the claws are not complete, as I don't have enough pegboards, nor boards large enough to work on. There is an extra row of beads on the edges of the claws/hand to keep the row I'll be gluing to from 'spreading out' as the outer edge beads do. That way the glued piece won't be so obvious, as the edges will line up properly.
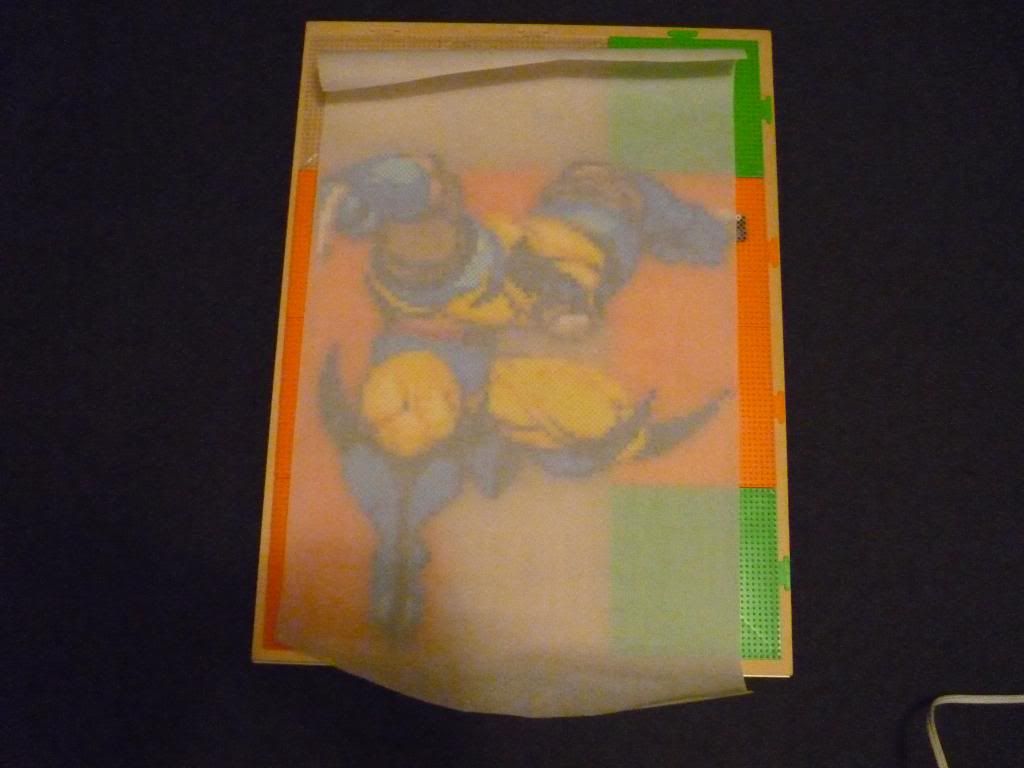
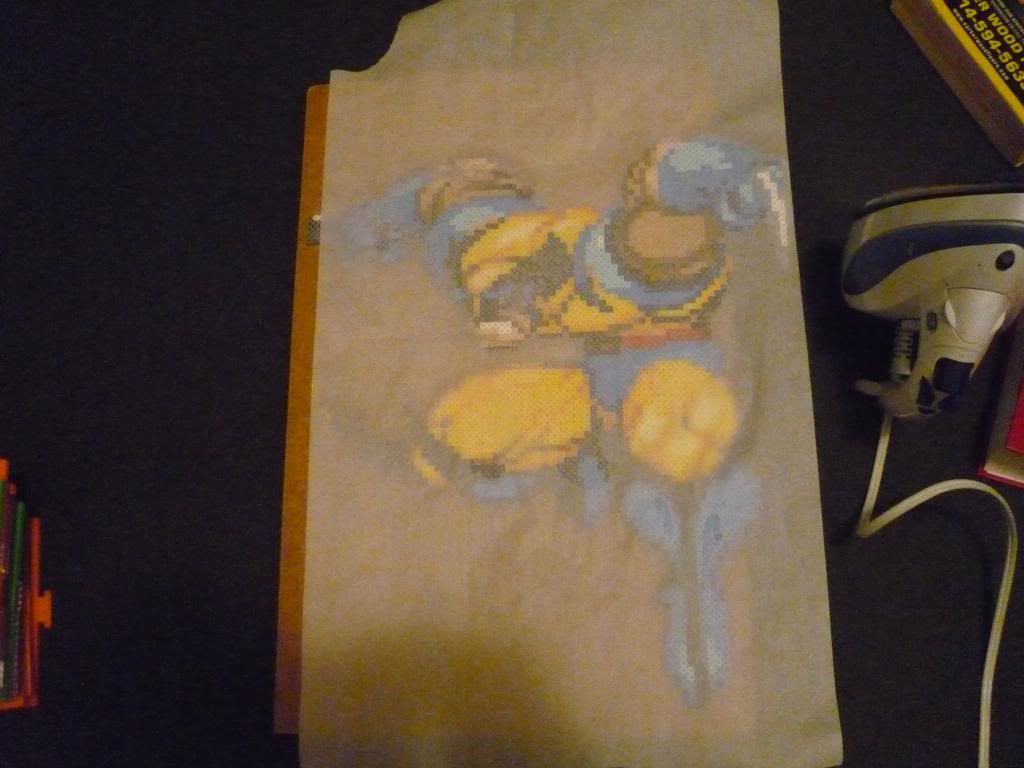
2. Use a large piece of PARCHMENT PAPER (never, never wax paper, it will stick) to cover as much of the sprite as you can.
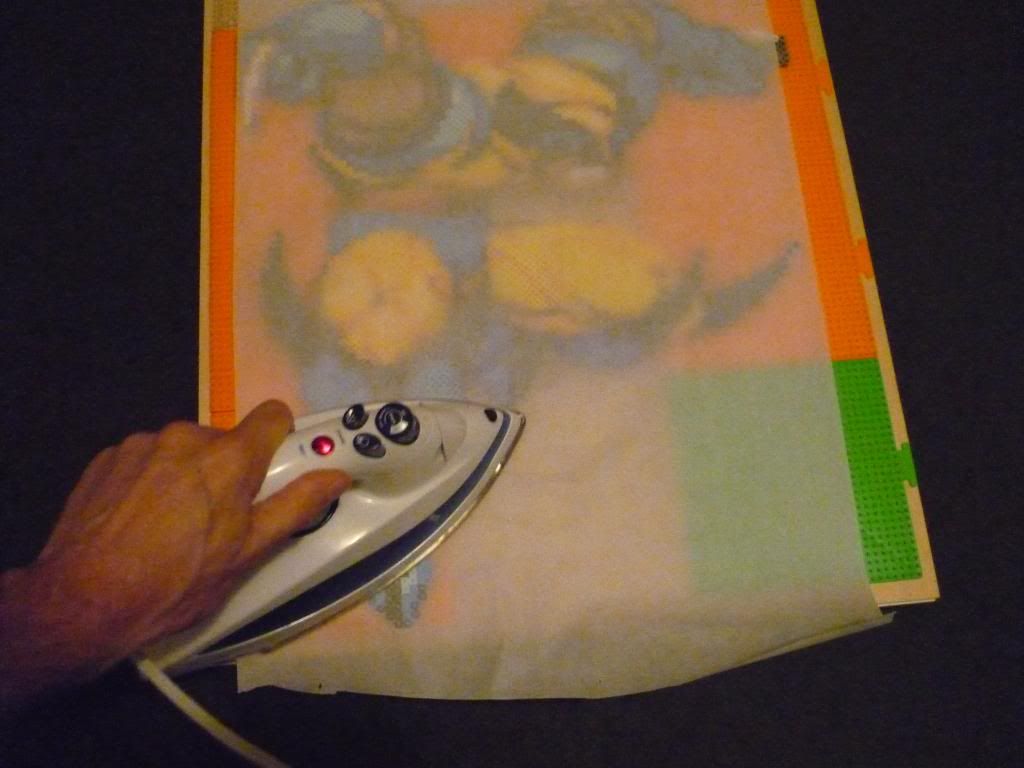
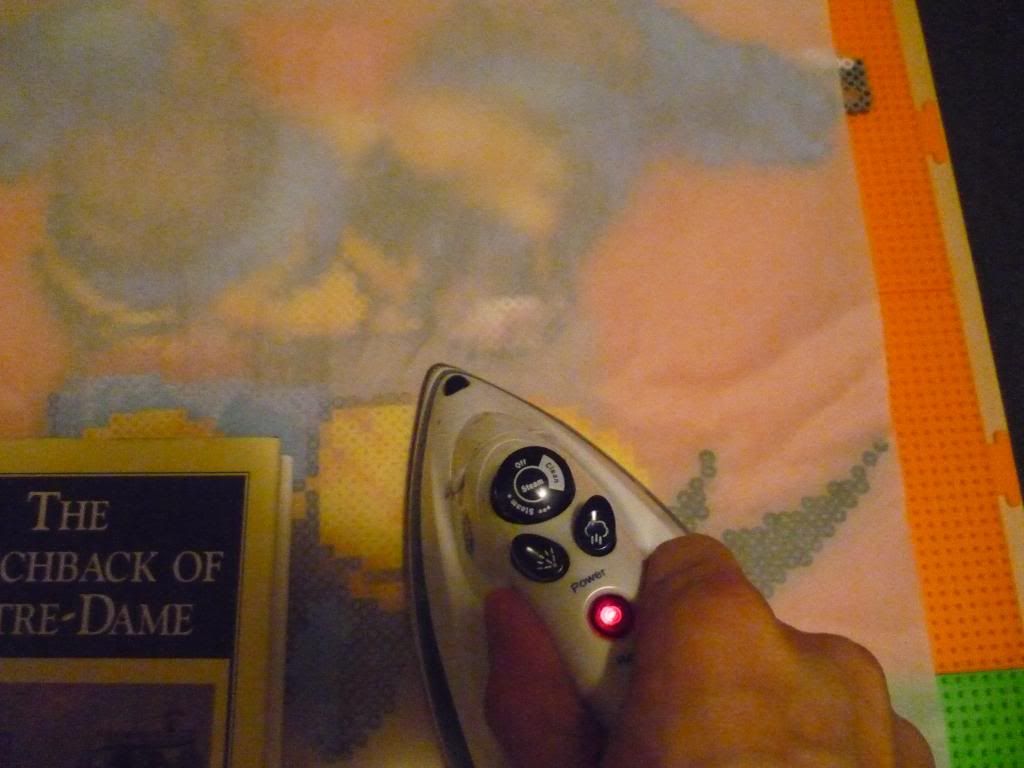
3. Every iron's setting is different. This one I have to use all the way on 'Linen', where as my other iron will liquify stuff on 'cotton'. It shouldn't melt instantly, but shouldn't take more than 10 seconds to start sticking to the parchment paper. DO NOT press the iron down, just let it's weight do the job. Keep the iron moving in tiny circles. Your iron may have hot spots at the front or rear, so you may want to rotate it slowly as well.
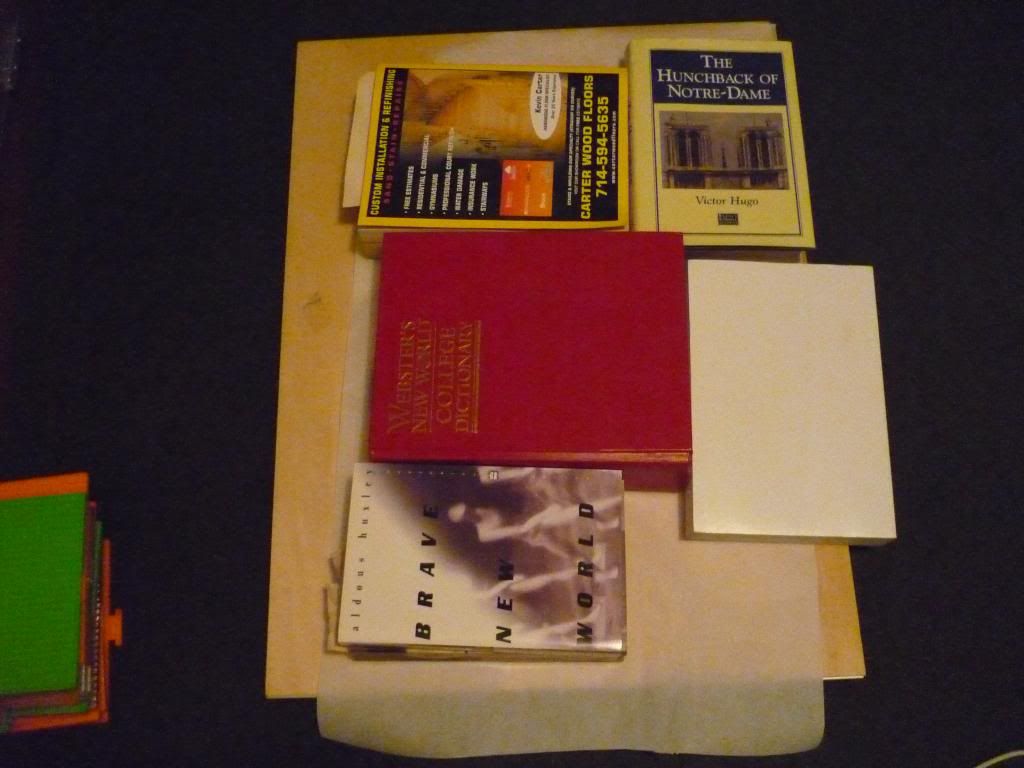
4. Once a small section is fused adequately, put a heavy book on it. This one probably isn't heavy enough, but you get the idea. Cook books, school text books, dictionary..etc.
5. Move on to the next area..
Ghetto lady thinks your froggy's name is Lou McGopher
6. Adding a book for the next completed section
7. Oops, let's not forget to cover the edge of those claws! The plastic will instantly melt to the iron, making a mess. I try not to use too many pieces of parchment, when they wiggle separately, they tend to knock beads over. Sometimes you have to though..
8. One more section to go on this side.
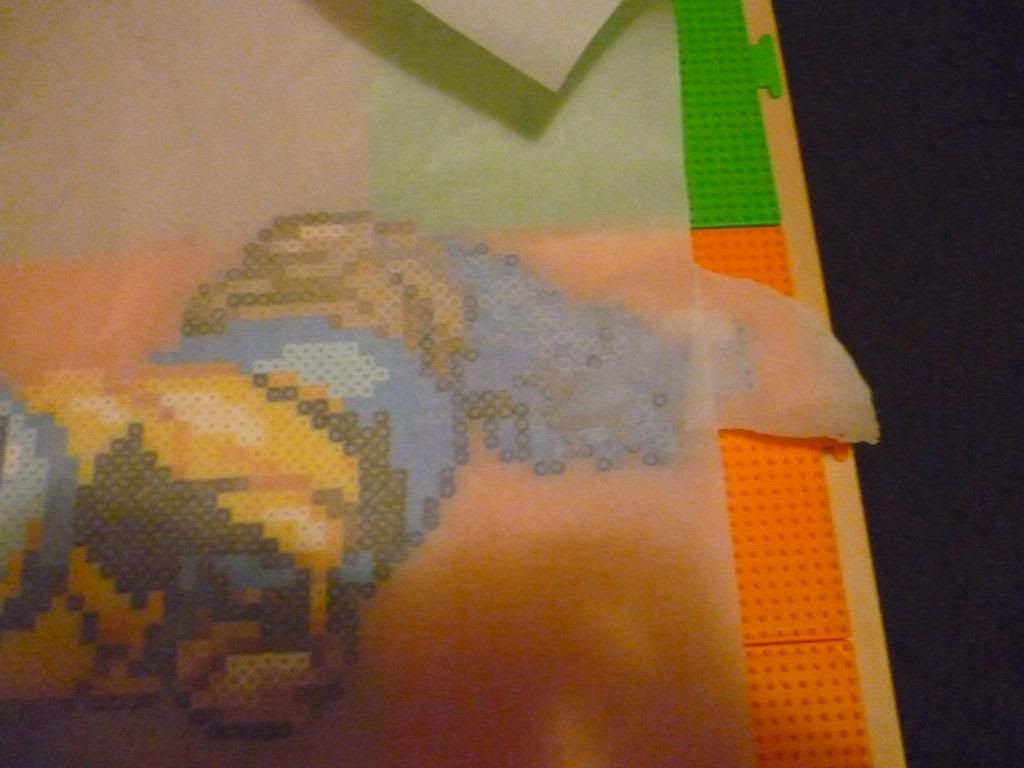
9. After you've hit it all with the iron, take the books off and 'check the damage'. Yes, there will still be some seam-tearing. See up at the top there? Be sure to push the beads down, before you lay the parchment back on top. Be certain no beads fall sideways! Let's hit that spot again!
10. Another example of a torn seam, with loose beads. These tend to occur where the pegboards join, as they never seat perfectly. You don't have to have 100% of these troublesome internal seams joined, but those loose beads could be a big problem. Iron 'em till they attach somewhere!
Ghetto lady thinks your froggy's name is Lou McGopher
11. I'm going with this for side one. See the seam at the knee? Not quite done, but good enough to flip.
12. Sandwich the sprite between two boards and flip.
13. This is what you get.
14. Carefully wiggle the boards off.
15. Let's iron this side now. You won't need the books for this.
16. After you finish ironing side 2, put the 'flipping board' back on top, and flip it. Be sure to put your parchment paper back on side 1 now. I like to give side 1 a very, very brief ironing. Like, just a few seconds over the whole thing. The sprite will arch upward. You are done. I like to think this makes it more flat, as it evenly cools (pulling equally as it contracts) on both sides. I have no idea if that is true, but that's what I do
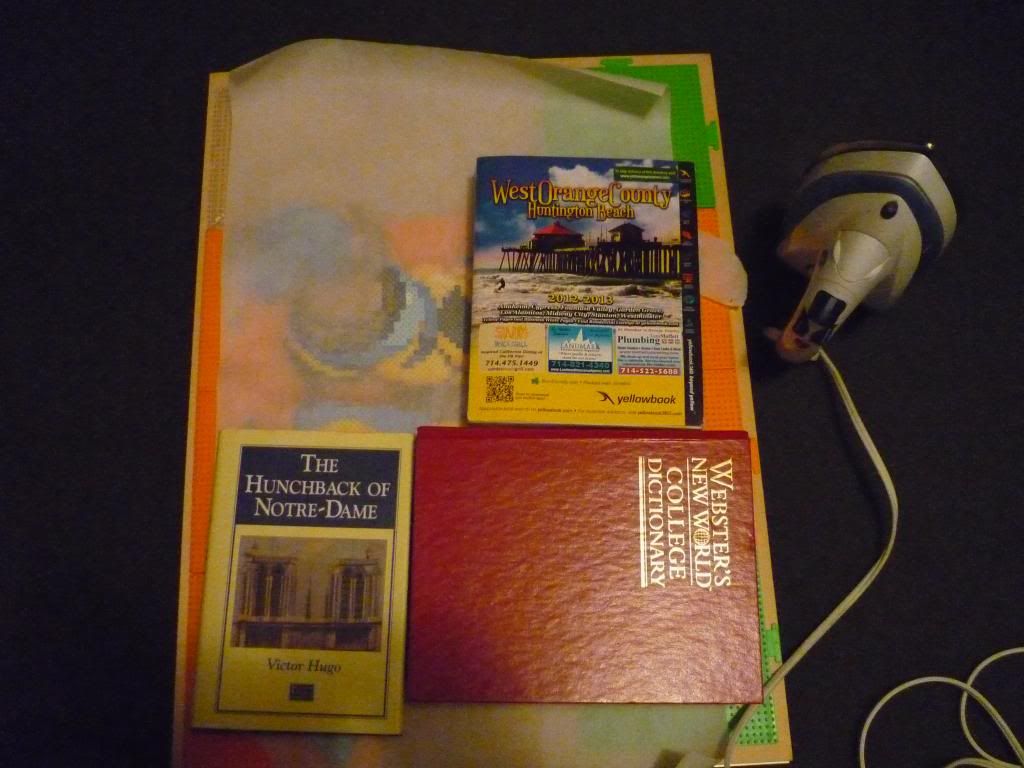
17. Now put all the books on top and let it fully cool. Hopefully you have a generally flat sprite, however on bigger ones I almost always have a foot or hand that has a big of curvature to it. Good luck!
Last edited by Monochrome; Nov 18, 2013 at 07:06 PM.
Ghetto lady thinks your froggy's name is Lou McGopher
 Posting Permissions

 Reply With Quote
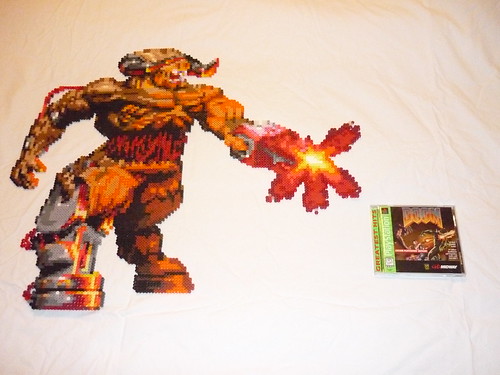


Connect With Us